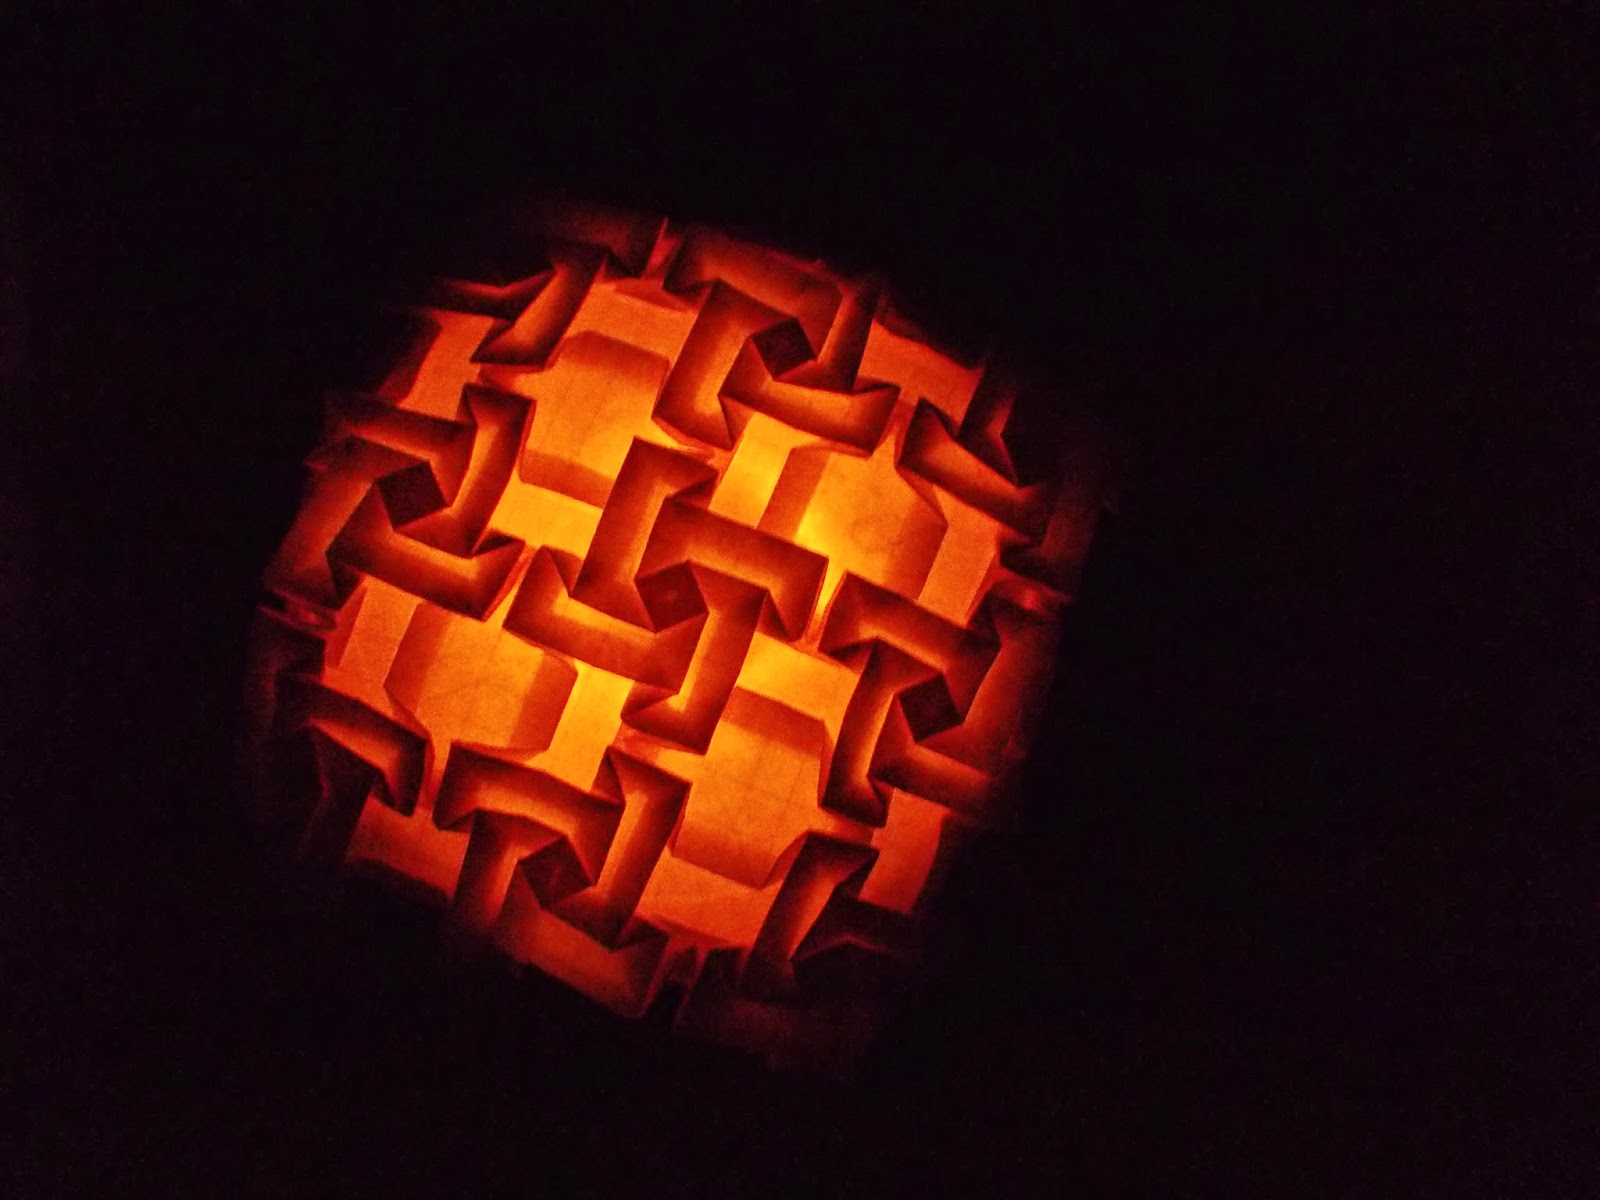
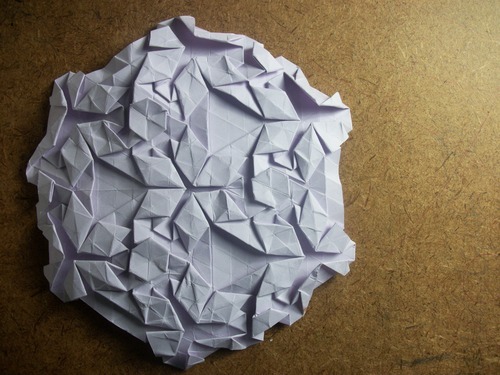
This is designed by Eric Gjerde, and the diagrams are in his book “Origami Tessellations”.
When you make this tessellation, expect A LOT of creasings, since you will be needing it in the open-back triangle twists.
Gjerde stated in his book about this tessellation that this is one of
his favorite tessellations, and he hopes that it also becomes one of MY
favorites.
It’s nice I guess, oh what the heck. I LOVE IT.


It’s just a couple of hexagon twists and open-back triangle twists
put together to make a masterpiece (wow ah) and it’s really easy.
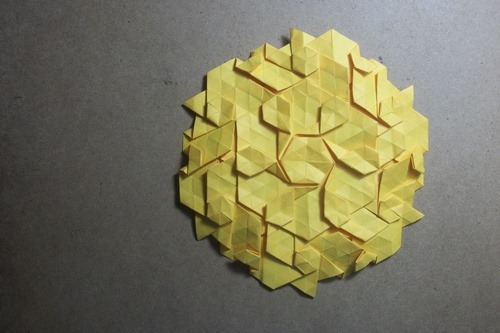
PS. The diagrams in the book used a hexagon-shaped piece of paper.
The photo of the tessellation used a square piece. Oh well, maybe it’s a
matter of common sense and stupidity. :)
If you want a square tessellation, use a square piece. If a hexagonal tessellation, use a hexagonal piece. Sounds simple right?
The same mistake goes with the 3 6 3 6 tessellation diagrams.
Oh well, all I can say about it is, it’s a good tessellation for beginners. :)
I guess it is already one of my favorites :D though my SUPER favorite
is the Open-Back hexagon Twist. :) Yep, the one Sara Adams is upset
about when she used transparent paper.


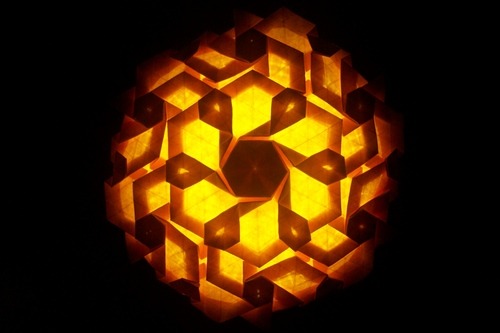
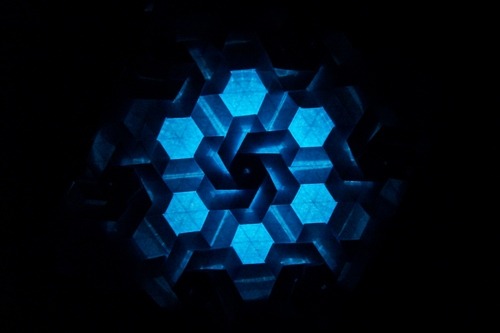
 The
tessellation is composed of flowers created by rhombi (duh) and stars
created by hexagons (formed by 3 60-degree pleat intersections) and some
triangle-like paper formed by 2 rhombi.
The
tessellation is composed of flowers created by rhombi (duh) and stars
created by hexagons (formed by 3 60-degree pleat intersections) and some
triangle-like paper formed by 2 rhombi. 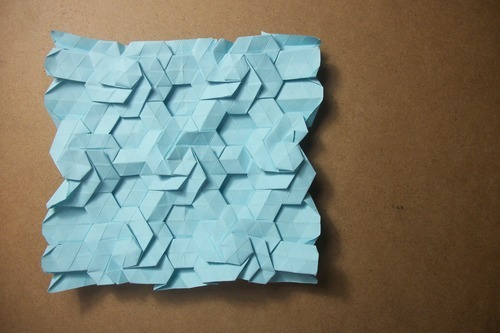


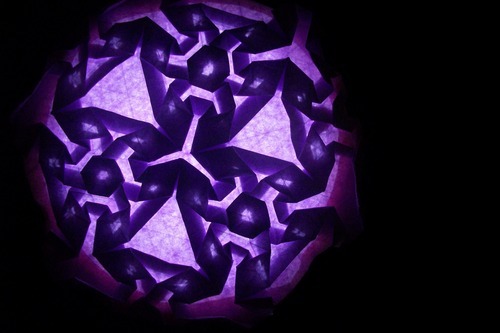
 The
tessellation is simple, but elegant. It is also pretty easy to fold.
You just have to make a lot of creasings to achieve the best output.
The
tessellation is simple, but elegant. It is also pretty easy to fold.
You just have to make a lot of creasings to achieve the best output.


